
What are the preparation steps for the operation of automatic PCB depanelizer machine?
Aug 23 , 2022
What
are the preparation steps for the operation of automatic PCB depanelizer
machine?
With
the rapid growth of the global demand for intelligent mobile equipment, the
demand for PCB depanelizers has also increased. How to improve the
production capacity and efficiency is a matter of great concern. Especially for
fan-shaped, circular, semi-circular, irregular, polygonal, rectangular and
irregular shapes. Improper manual breaking operation is easy to cause damage to
the board, such as component cracking, damage to solder joints, board
deformation, uneven force, PCB brittle fracture and cracking, and uneven board
appearance.
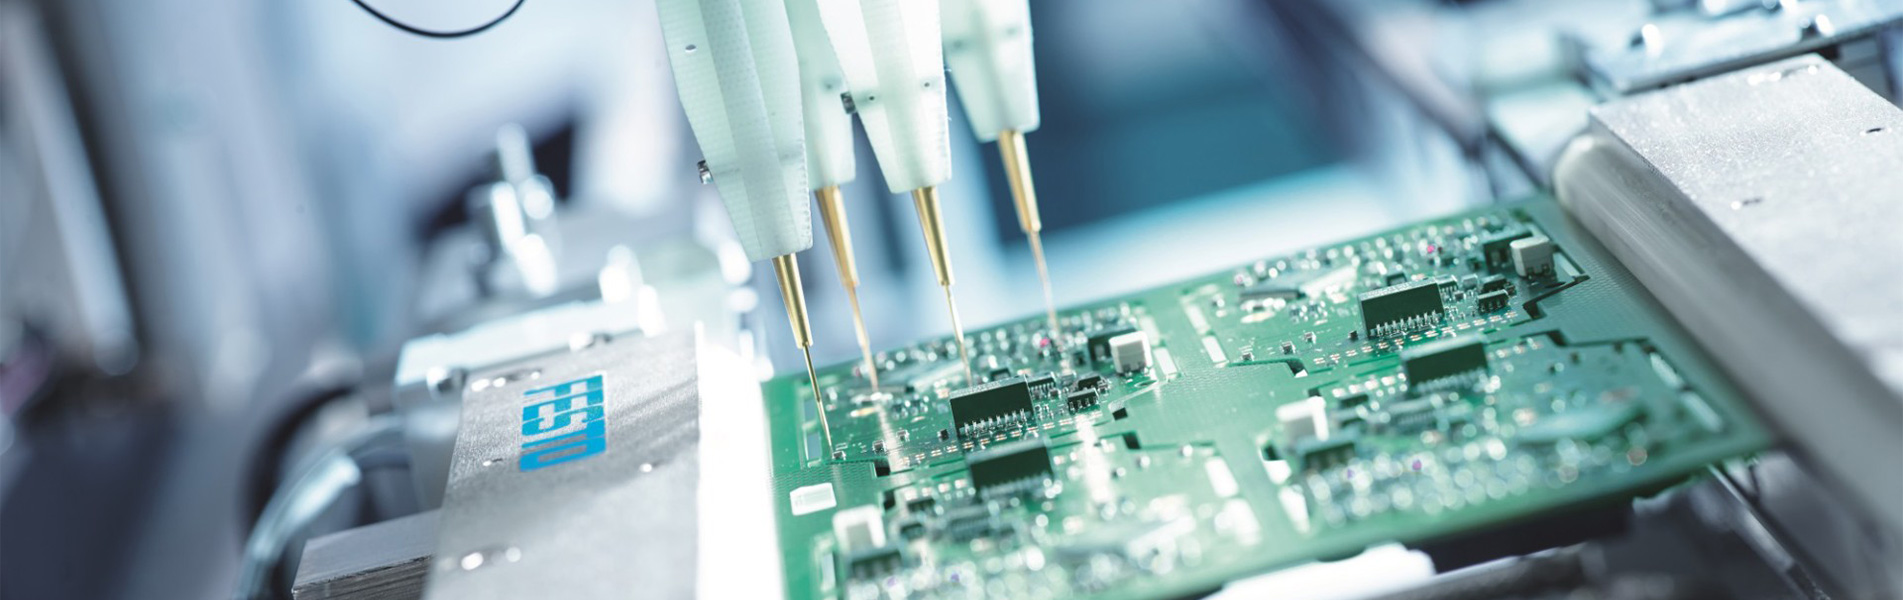
Online
PCB depanelizer machine
At
present, the enterprise has basically realized the mechanical breaking instead
of manual breaking. Of course, in order to realize mechanical depaneling, the
application of PCB depaneling machine is essential. Compared with manual
breaking, it not only improves the production efficiency, but also greatly reduces
the damage rate of products. Then, what are the preparation steps for the
operation process of the depaneling machine? Let's look at the operation
process of the PCB depaneling router machine:
1. Check whether the equipment is powered on normally, and confirm that the equipment has been reset for operation.
2. The operator shall determine the direction and positive and negative directions of the PCB board, place the PCB board on the special fixture, press it gently with the palm of his hand, confirm that the PCB board has been placed, and put down the fixture cover to ensure that the PCB board has been tightly covered.
3. Use the visual camera to adjust the programmed cutting path and confirm to save.
4. Press the start button, the PCB router machine starts to work, the dust collector, spindle, electrostatic removal, etc. will also start automatically, and the milling cutter cut the boards according to the programmed cutting path.
5. Complete the whole depaneling, the workbench will automatically exit, open the fixture cover, confirm that separated PCB board is not damaged, manually remove the product, replace the new PCB board, and click the start button to perform the cutting action.
6.
Repeat step 4 &5 until all products are cut.
Huizhou Fusen Intelligent Technology Co., Ltd.


 English


 IPv6 network supported